Create a new Ruby on Rails Project in Rails 7
Creating a new Ruby on Rails Project is as easy as running a single command from the command line. After running a single command, you’ll have a functioning Ruby on Rails app. There are just a few things you need to confirm before getting started.
Before getting started
First, make sure you have Ruby and Ruby on Rails installed on your computer.
Second, make sure your command prompt is showing the location on your computer where you want this new Rails app to be created.
Take a look at the command line below:
joel@Joels-MacBook-Pro-16 projects %
The command line is showing that Terminal (the command line app I’m using on my MacBook) is currently in the ‘projects’ folder. If I run the rails new command right now, a new Rails app (a folder with a bunch of files in it) will be created in the projects folder.
Create the project
Now we’re ready to create this project. In the command line run the `rails new` command. Swap out ‘grand-prix’ below for the title of your new project. Call it what you want, but make sure it’s either one word, or uses underscores or hyphens between words. Otherwise the first word will be used to create the project name (ie.’my new app’ would end up being called ‘my’. Use ‘my-new-app’ instead)
joel@Joels-MacBook-Pro-16 projects % rails new grand-prix
That’s it. When you run this command, a new directory (folder) titled ‘grand-prix’ will be created with the following directories and files (folders below are noted with the ‘/‘ at the end of the name):
- app/
- bin/
- config/
- config.ru
- db/
- Dockerfile
- Gemfile
- Gemfile.lock
- lib/
- log/
- public/
- Rakefile
- README.md
- storage/
- test/
- tmp/
- vendor/
- .dockerignore
- .gitattrubutes
- .gitignore
- .ruby-version
This set of files and folders has created a (very) basic rails app, and you can run it immediately.
Viewing the project
Next you’ll need to navigate into the project folder you just created. A quick way to do this is to enter the command
cd <the name of the project you just created>
This will move your command prompt into the directory/folder (cd means change directory) of the project you just created. In my case I’d enter `cd grand-prix`.
Now, in the command line type `rails server`
joel@Joels-MacBook-Pro-16 gand-prix % rails server
The command line will output something similar to this (depending on the exact version of Rails you’re running):
joel@Joels-MacBook-Pro-16 grand-prix % rails server
=> Booting Puma
=> Rails 7.1.3.2 application starting in development
=> Run `bin/rails server --help` for more startup options
Puma starting in single mode...
* Puma version: 6.4.2 (ruby 3.3.0-p0) ("The Eagle of Durango")
*  Min threads: 5
*  Max threads: 5
*  Environment: development
*          PID: 48667
* Listening on http://127.0.0.1:3000
* Listening on http://[::1]:3000
Use Ctrl-C to stop
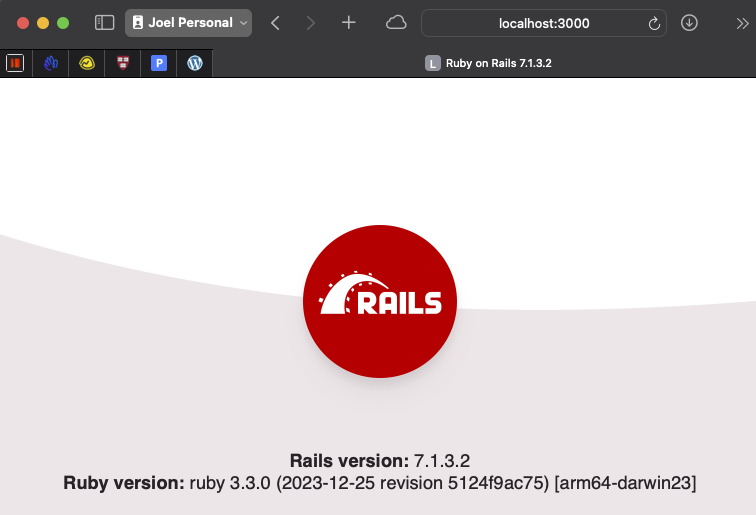
To see your app running, visit that link `https://127.0.0.1:3000`. This will open a web browser and display the following image (or similar, again, depending on the exact version of Rails you are running):
Bam. You’ve created a Ruby on Rails app.
—
More at world.hey.com/joelga

